How to Make a Vision Board: 9 Sectors, Rules, and a Ready Template
How to make a vision board that actually works: 9 sectors, the rules, common mistakes, where to find images, and a ready online template you can update all year long.
How do you make a vision board that doesn't turn into a pretty collage you forget about in a week? Toward the end of the year, many people sit down to make one: images and short captions about what they want next year, all on a single sheet. Making it is easy — making it work is harder. Below, we break down how to split the board into sectors, what to write in each one, where to get images, and which mistakes turn the board into wall decoration. At the end, there's a ready online template you can copy right away.
What is a vision board and why you need one
A vision board (also called a dream board or visualization board) is a sheet where your goals become "visible": each goal gets an image and one specific phrase.
It doesn't work because a wish magically comes true once you pin it up. The mechanics are far more practical:
- Making it forces you to think. To pick an image and caption it, you first have to answer honestly what you actually want.
- Hanging it up keeps reminding you. A goal you see every day doesn't get buried under everyday chores.
So the main thing about a vision board is not how pretty it is, but how specifically the goals are worded — and how often you come back to them.
Vision board sectors: how to divide the board into 9 zones
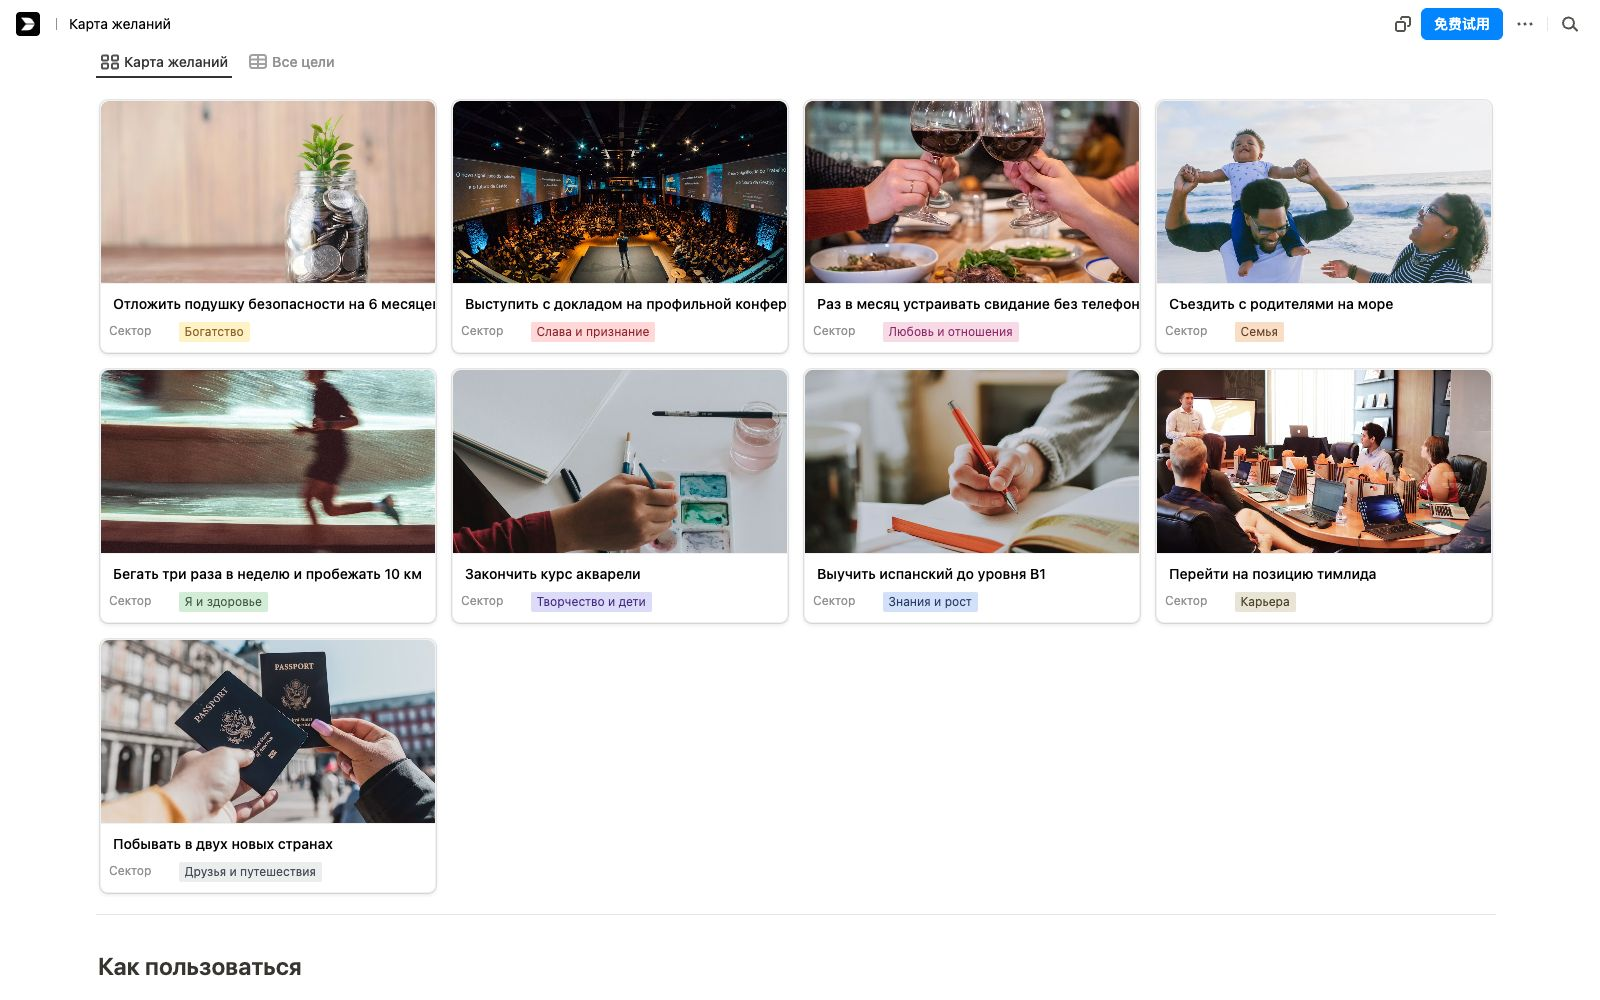
Most often, the board is divided into nine squares, and each one is responsible for its own area of life. This sector scheme comes from feng shui, but even if you don't believe in feng shui, it works as a convenient life-area checklist: you can immediately see whether you've forgotten something important.
| Where on the board | Sector | What to put there |
|---|---|---|
| Center | Me & health | Your own photo; sleep, exercise, regular checkups |
| Top, center | Fame & recognition | What you want recognition for: a project, a talk, a role |
| Top, left | Wealth | Income goal, savings, a major purchase |
| Top, right | Love & relationships | Your partner, things you want to do together |
| Middle, left | Family | Relationships with parents and children, household projects |
| Middle, right | Creativity & children | Hobbies, creative projects, a new craft |
| Bottom, left | Knowledge & growth | Books, courses, foreign languages |
| Bottom, center | Career | Position, projects, a job change |
| Bottom, right | Friends & travel | Where you want to go, who you want to see more often (in the classic scheme this sector is called "Helpful People & Travel") |
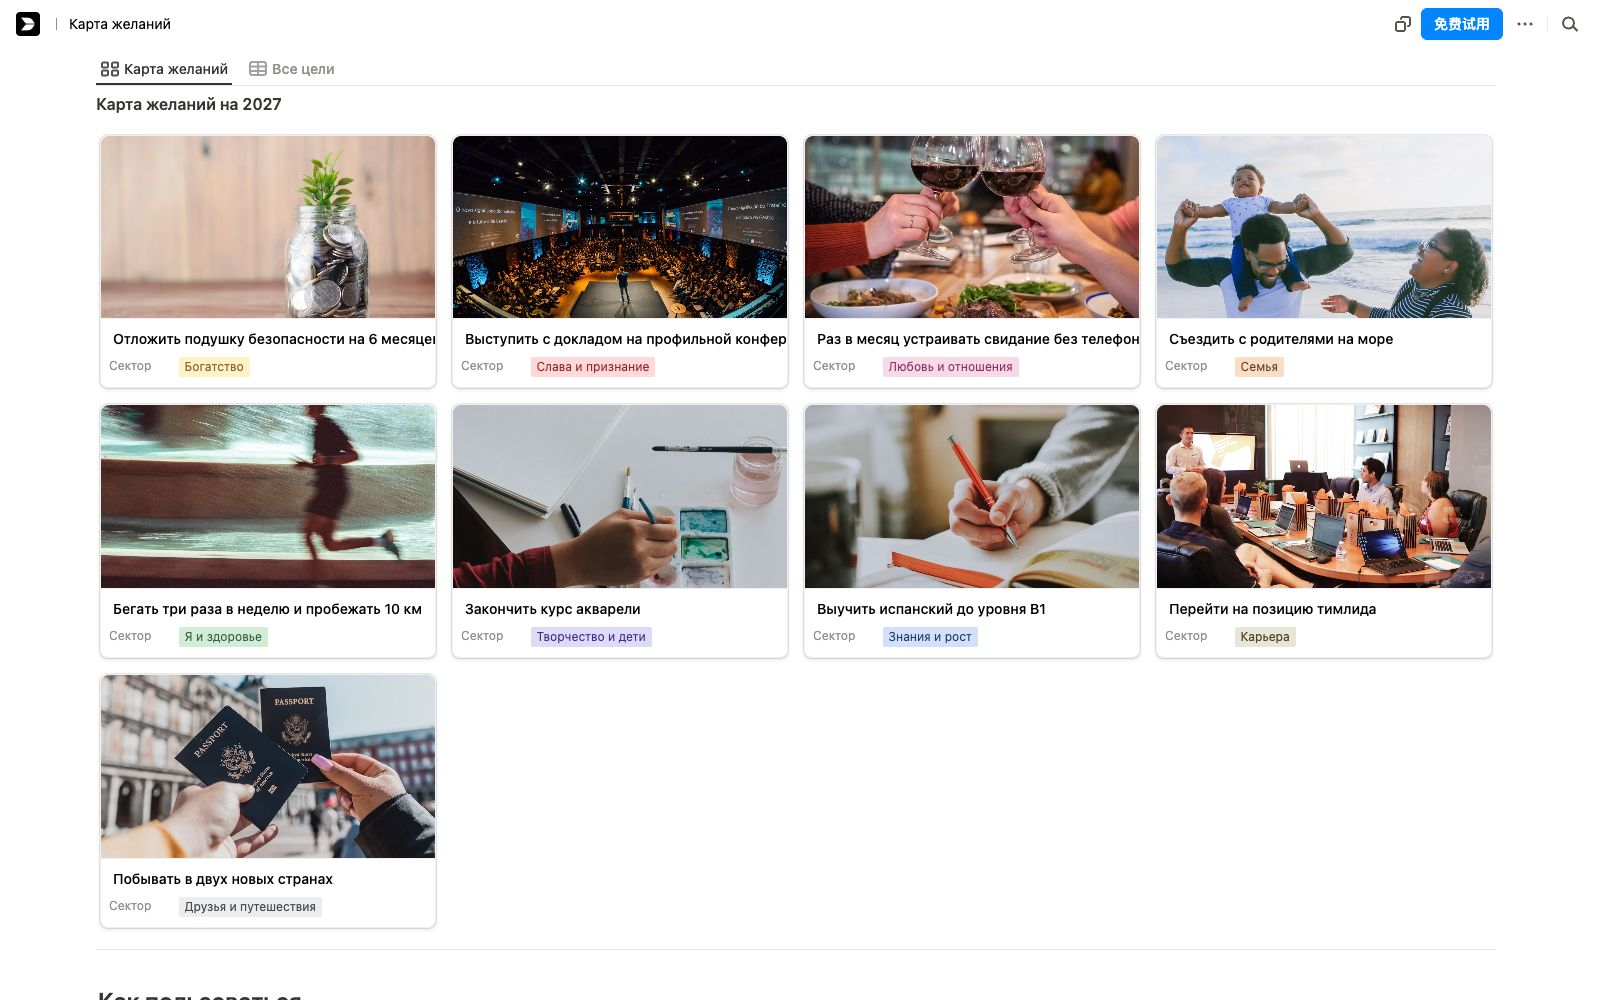
You don't have to fill all nine sectors. If this year you want to focus on three things in earnest, keep three. An empty sector is better than a goal invented just to fill the space.
How to make a vision board the right way: 7 steps
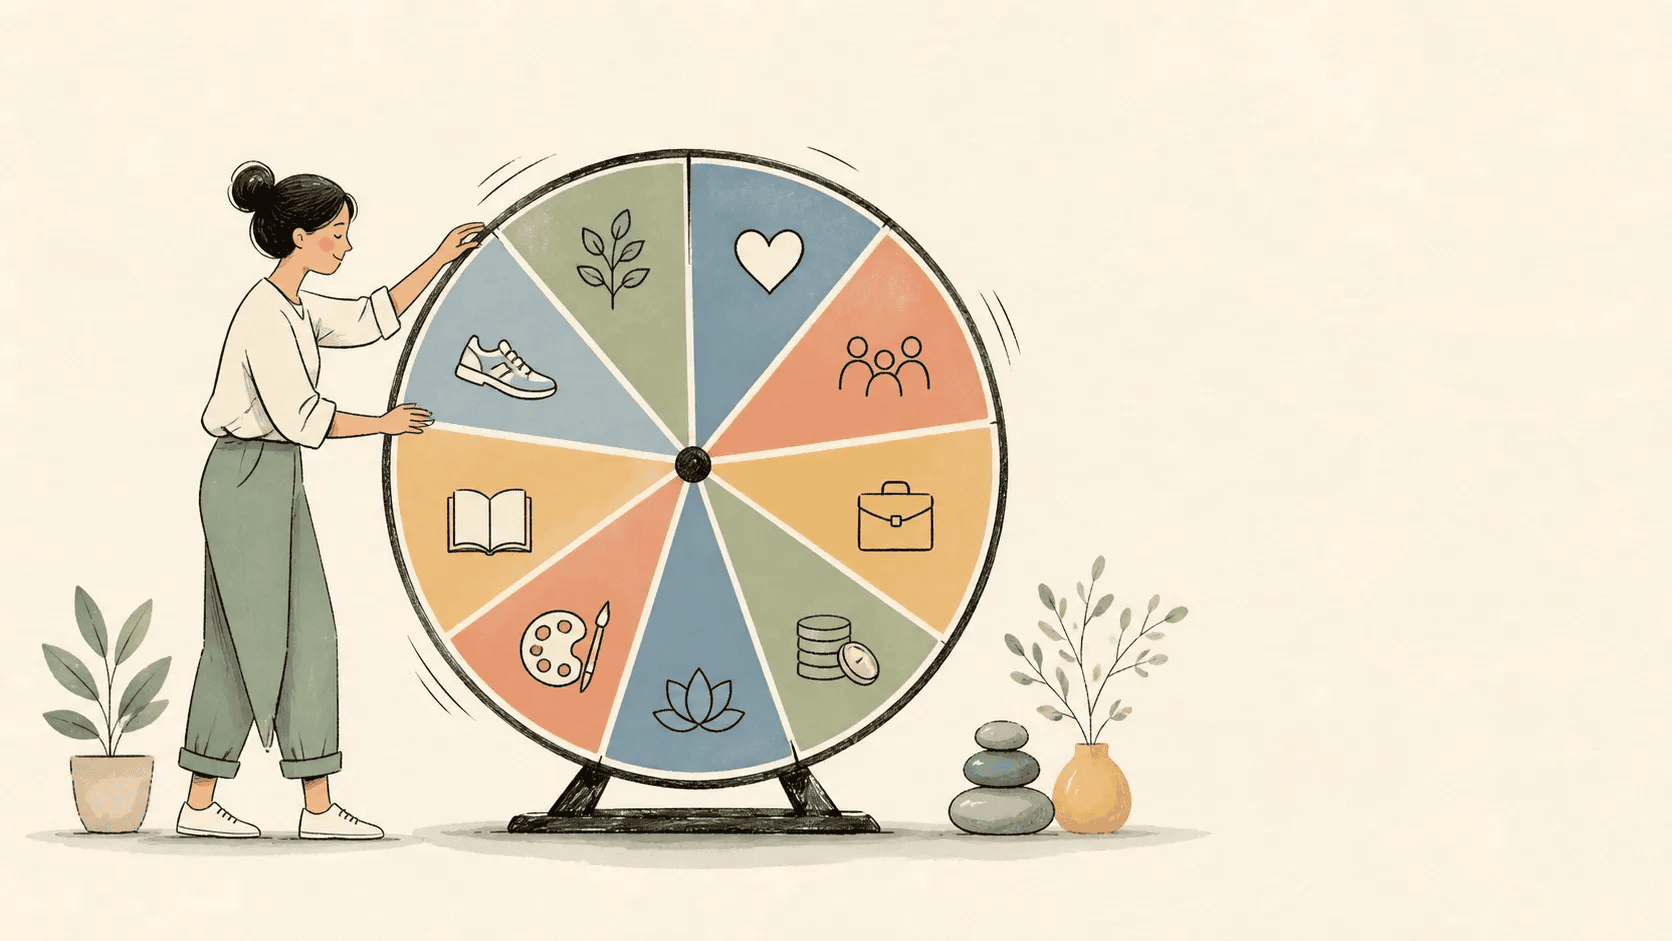
- Look back at the past year. What made you happy, and what did you keep putting off for months? The board should continue the first and deal with the second. For a more systematic approach, start by rating each area of your life with the Wheel of Life.
- One or two goals per sector, no more. When there are too many goals, there is no focus.
- Be specific. Not "travel more," but "visit two countries I've never been to in 2027." A good goal is one where you can tell for sure whether it's done or not.
- Write in the present tense and without "not." "I run three times a week," not "I'm not lazy anymore."
- Pick an image for every goal. Choose the one that instantly strikes a chord, not the prettiest one.
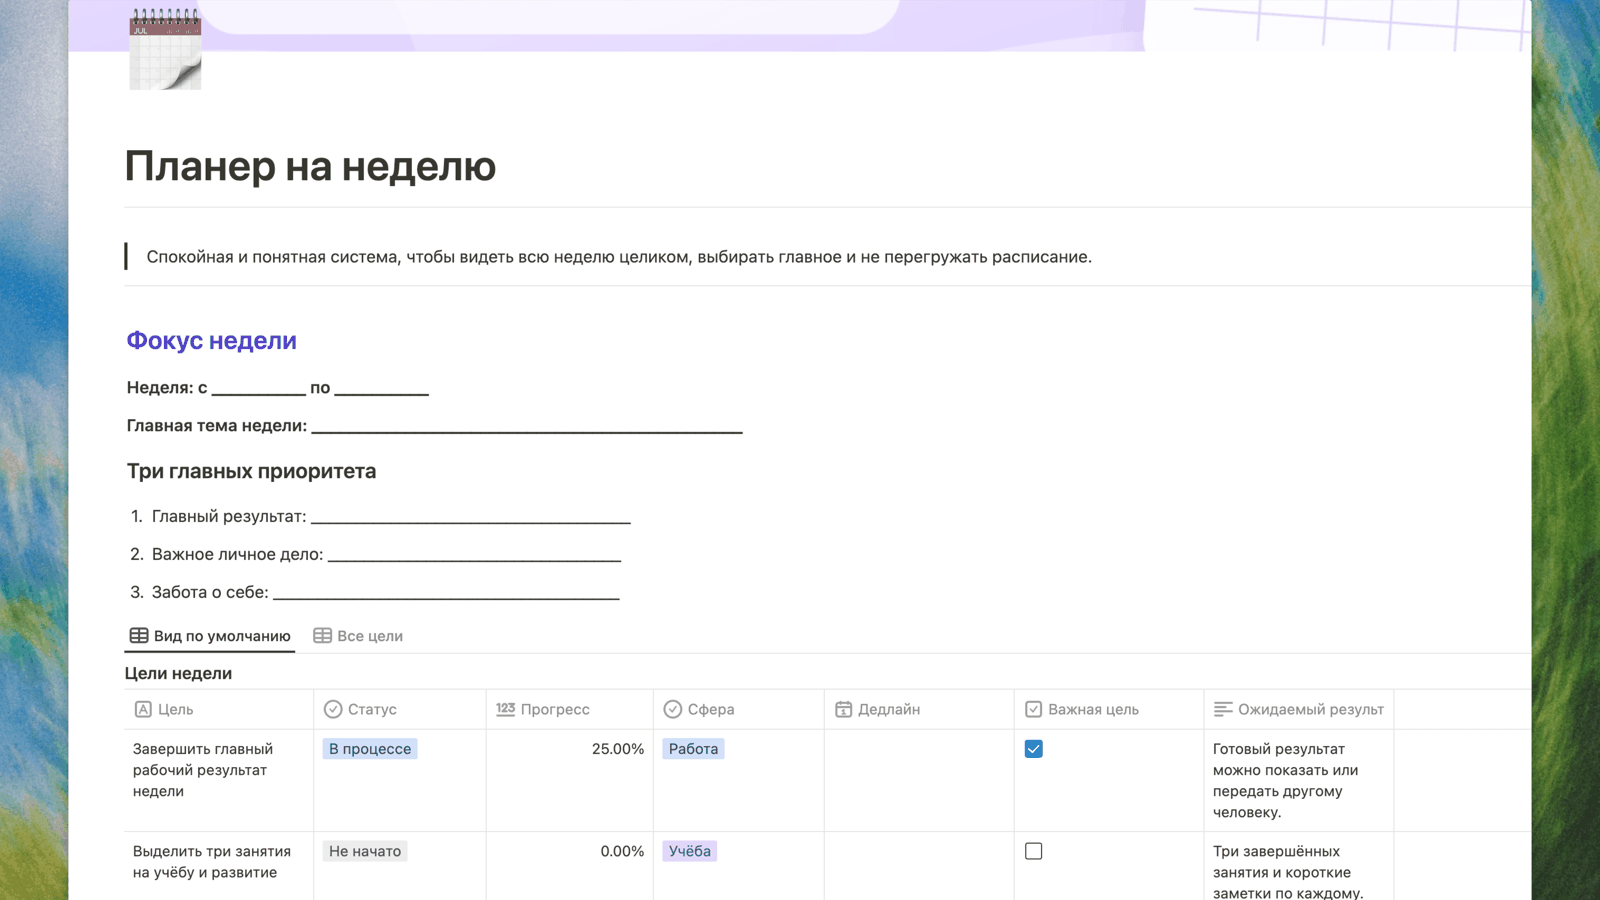
- Write down the next step for every goal. For example, the next step for "two countries" is "sort out the visas by the end of November." A board without next steps quickly turns into decoration. The steps themselves are easy to move into your weekly plan.
- Hang the board where you see it every day. A paper one — above your desk; for the online version, make it your browser start page or the first page of your weekly plan.
Vision board rules and common mistakes
- ❌ Images without captions. In a year, you won't remember what that photo meant. Write one phrase under each image.
- ❌ Other people's dreams. A car from someone else's blog, someone else's vacation photos — not necessarily what you want. Ask yourself: "If it comes true, will I really be glad?"
- ❌ Only the outcome, no path. You can write "double my income," but add an action that depends on you: for example, "master a new skill every quarter."
- ❌ Make it and forget it. The most common mistake. Review the board once a month: mark what's done, and break what's stuck into smaller steps.
About "activating" a vision board. The internet is full of advice on how to "activate" the board: hang it on a certain day, use certain colors. In reality, only one thing makes a board work — coming back to it regularly and actually taking the next step.
Where to get images for a vision board
- Your own photos. These work best, especially in the central sector. Pick a shot of yourself in your best form.
- Free stock libraries. Images from Unsplash and Pexels can be used for free; search works better in English (travel, running, cozy home).
- Pinterest — for ideas. It has plenty of vision board collections, but treat it as a source of inspiration rather than a library of freely usable images.
- A hand-drawn picture or word. You don't need to know how to draw — one word or symbol is enough.
- Important: any image works for a personal board. If you plan to post your board on social media, better use images from free stock libraries or your own.
When to make a vision board for the year
- At the end of the year or on New Year's — the most popular time for an annual board.
- On your birthday — your personal New Year.
- At turning points — after a job change, a move, or graduation.
It's best to finish an annual board at the end of December and start using it in the first week of January. After that, review it once a month and rebuild it completely once mid-year (June–July). And before sitting down to a new board, it helps to sum up the outgoing year — for example, with the annual review template.
Paper or online?
| Paper board | Online board | |
|---|---|---|
| How it's made | A whole ritual: cut out, glue | Copy a template and drag images over |
| Changes | Re-glue every time | Change anything anytime, no traces left |
| Progress | You can only look at it | Every goal has a status, deadline, and next step |
| Always with you | Awkward | Opens on your phone and computer |
The two don't conflict: many people keep an online version that's easy to update, and print it out to hang on the wall at the start of the year.
How to make a vision board in Buildin
The vision board template in Buildin is already split into 9 sectors:
- Gallery view: every goal is a card with an image, and together they add up to a ready-made board.
- Table view: the same goals with sector, deadline, and status — handy for a monthly review.
- In every card you can record the next step and mark the goals that have already come true.
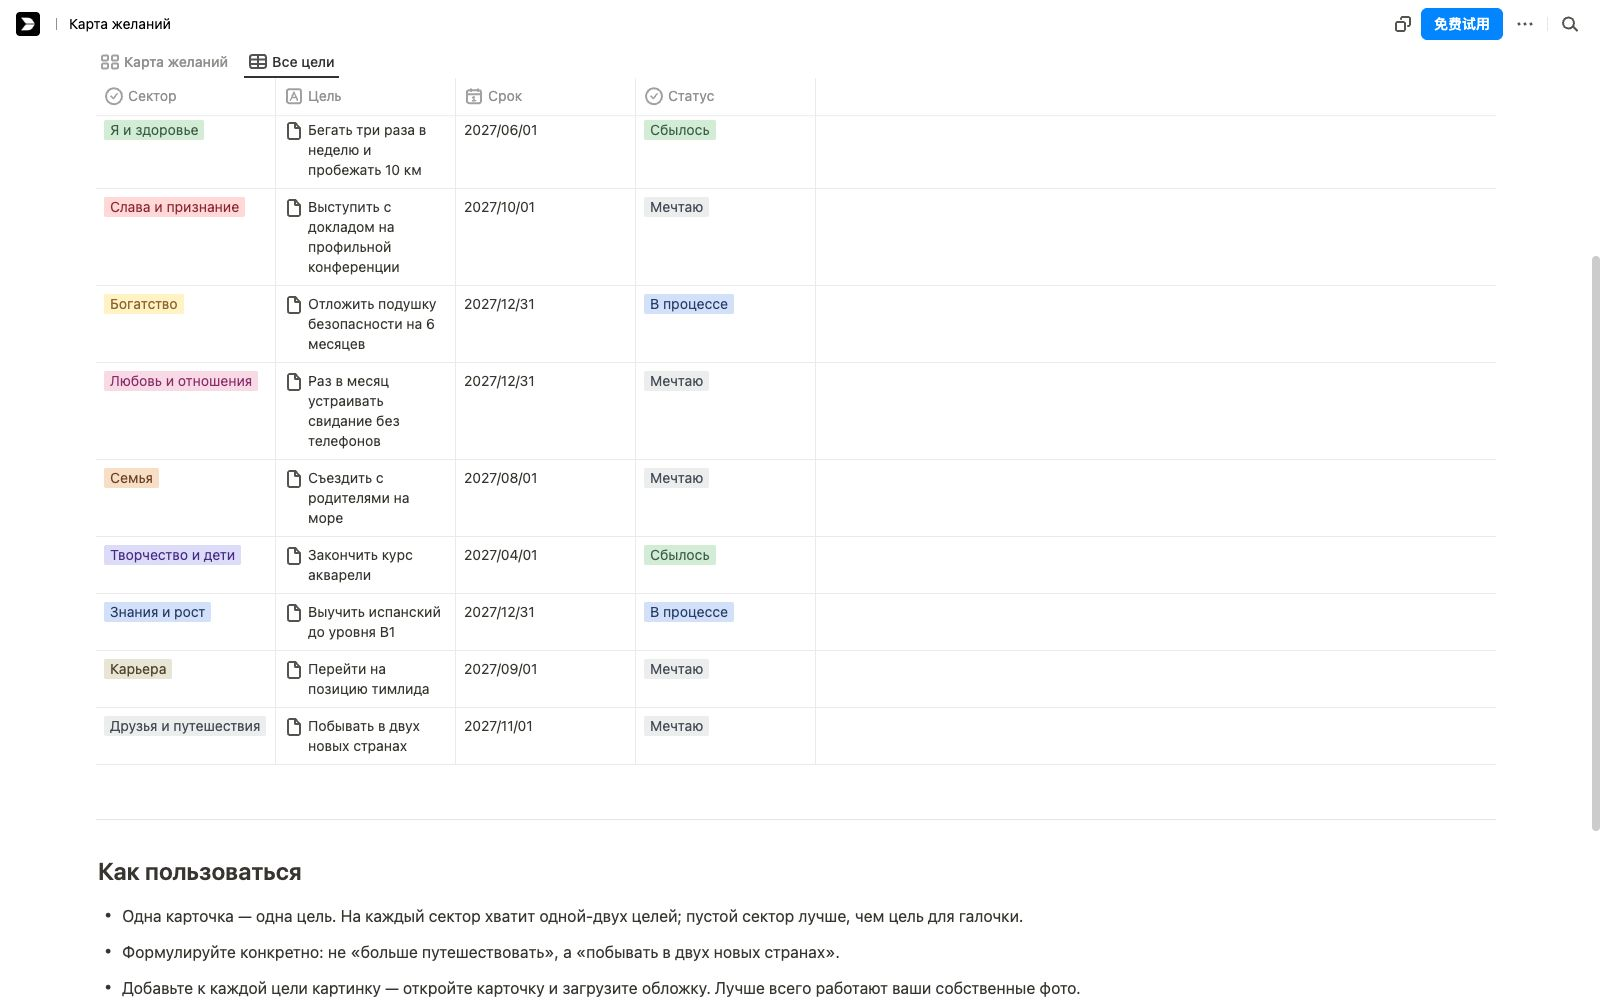
Copy the template, replace the examples with your own goals, and put your own image on every card — the whole thing takes about ten minutes.
Open the vision board template →
Frequently asked questions
How many goals should I put on a vision board?
One or two per sector, five to fifteen in total. More than that, and the board loses focus.
Do I have to divide my vision board into 9 sectors?
No. Nine sectors are a convenient checklist of life areas, but you can keep only the ones that actually matter to you.
How often should I update my vision board?
Review it once a month: mark what has come true and break stuck goals into smaller steps. Rebuild the board mid-year and make a new one at the end of the year.
What images should I choose for a vision board?
Ones that instantly remind you of the goal. Your own photos work best; free stock libraries like Unsplash and Pexels come next.
Is an online vision board better than a paper one?
An online board is easy to update and to track progress on, while a paper one is a ritual and a daily visible reminder. You can combine both: keep the online version and print it out for the wall.

Amara Elara
Specializes in visualizing complex processes and improving product education. Responsible for user support, product tutorials, and visual guides at Buildin, helping users improve tool adoption and overall productivity.